Showing posts with label Stampin Up. Show all posts

Tuesday, October 22, 2013

Notebooks of Fun

I decided to clean up my desk and purse with all the pieces of paper for directions to places I go a lot or just once in awhile. Since I moved last year to Nevada it seems I need directions for everything. So I took one of the notebooks I bought from the dollar store and covered it with old DSP and some Faux Suede paper to make a Travel Book. This way I won't loose all those directions and comments.!

I hope you like what I came up with, if you look real close there is a Rhinestone for Las Vegas!

Here is front and

Wednesday, July 31, 2013

Open Sea Birthday Card

Here is a card I made for one of my grandson's. I like the Open Sea stamp set and I hope he likes what I came up with.


Supplies:
Card Stock                             Crumb Cake, Pacific Point, Soft Suede, Very Vanilla
Stamp Sets                             The Open Sea and Itty Bitty Banners
Ink                                          Soft Suede
Stampin Up Markers              Pacific Point
Punch                                      21/2 inch Circle Punch
Framelit                                   Itty Bitty Banner
Accessories                             Stampin Up Circle Cutter

I cut a piece of Pacific Point 51/2 x 41/4 for the base card, then 51/4 x 4 for the next layer I used Soft Suede. Then cut a piece of Very Vanilla 5 x 33/4   and stamped world stamp, compass and anchor all over it.
Then I stamped a piece of Pacific Point 31/2 x 21/2 and tore the edges
Next I stamped shipping log onto a piece of Very Vanilla 31/4 x 21/4  in Soft Suede and tore the edges.
I stamped Happy Birthday with Soft Suede and cut it out using framelit and put aside, same with the anchor except I trimmed around it.
Next I stamped the ship on Very Vanilla card stock with Soft Suede and using my Pacific Point marker colored under the ship to make the sea. Then I punched it out using the 2 1/2 inch Circle punch.
Last using the Circle Cutter I cut a piece of Crumb Cake and Soft Suede to make the Port Holes. I was going to put brads on the Port Holes to make it look more realistic, but ran out of time before my sis had to leave for convention, where it was being mailed from. Sorry Mark!

I hope you enjoyed my project today and leave me a comment below. Thanks for stopping by.
Jackie


Thursday, July 18, 2013

Secret Garden Friendship and Kindness

I was on Stampin Connection and saw some lovely cards Penny  Hanuszak,  did using vellum and the Secret Garden bundle (Stamp Set and Framelit). So being a good Stampin Up demonstrator I cased it.

Penny, here is your version of the card on bottom right.

 
Here is my version of my cards: The first one is a card I made for one of my friends.


The second one is a Kindness card I made, they both came out darker than I expected. Not sure what I did, but Penny your still the Queen of these flower cards.
 
Supplies:
 
Card Stock                      Whisper White, Elegant Eggplant, Primrose, Pear Pizzazz,Vellum
Stamp Sets                      Secret Garden, Best of Greeting and Blooming with Kindness
Framelit                          Secret Garden
Stampin Ink                    Primrose, Elegant Eggplant, Wisteria Wonder, Pear Pizzazz
Embossing Folder          Perfect Polka Dots, Vintage Wallpaper and Modern Mosaic
Pearls for some much needed elegance, clear embossing powder to enhance the lines of the flowers.
 
My favorite is the all purple one, which is yours? Don't be shy, leave me a comment and if you didn't like either one let me know that too.
 
Thanks for stopping by,
Jackie


Monday, March 4, 2013

March is Beautiflu Butterfly Wings


I made this card for my daughter Kari, her birthday is in March and since I am having surgery I wanted to make sure it got posted before I leave.

I love all the new Butterfly punches and stamp sets Stampin Up has come out with this year and so I mixed them  with the Elegant Bouquet embossing folder to make a Vintage looking card.


I just loved the way it all came together. Let me know what you think?

Supplies
Card Stock                Pumpkin Pie, Whisper White, Soft Seude
Bigz Die                    Beautiful Butterfly
Embosslit                  Beautiful Wings
Framlit                      Window Frames (inside)
Embossing Folder     Elegant Bouquet
Ink                             Soft Seude, Whisper White Craft Ink
Stamp Set                  Vintage Verses, Beautiful Birthday
Tools                      Sponge dauber, Heat Gun, Basic Pearls


Hey, Hey I'ts Teasure Hunt Time


Don't forget to check out my post and collect all 50 demonstrators names and clues. For more  Information click Here


Thank You for stopping by today.

Jackie Watson


Tuesday, January 22, 2013

Sale-a-Bration is Here! Whoohoo!

It’s the time of year us Stampin’ Up! Fans look forward to every year, it’s Sale-a-bration time!!!! The best time of year to get your Stampin’ Up! products. Why you ask? Free Products just for shopping!!
Shop and receive a free Sale-a-bration product for every $50 you spend.  Check out all the great products here.


Check this out, you can now get a monthly kit called Paper Pumpkin from Stampin’ Up! that includes exclusive stamps and everything you will need for a great project. You can get more info on this great product at www.mypaperpumpkin.com. They even have a try me kit!  You won’t want to miss out on even one of these kits. . . . Please select me as your demonstrator when placing your order, it will ask for my name Jackie Watson and zip code 89081.

and that's not all Stampin Up has in store for you!  For the man in your life a new kit called Dude Your Welcomeeach kit will have;
  • Four wood-mount stamps (double-mounted) with the perfect sentiment for every occasion
  • Twelve 4″ x 6″ postcards in four different (manly) colors
  • Twelve gray envelopes
  • A Basic Gray Classic Stampin’ Pad
  • An instructional guide (for the most novice stamper!)


Basically, the kit includes everything a dude needs to create the perfect manly card that any woman would adore, all packaged in an appropriately masculine box.

Next is Best of 25 Years!

Happy 25th anniversary to us! Each month during 2013, we’ll smash up some of our all-time-faves with a new never-before-seen stamp to create twelve “Best of” stamp sets. We’re kicking things off with the Best of Birthdays Stamp Set. Party on!


Check back each month to see what Stampin Up come up with!!


Join Stampin’ Up! during Sale-a-bration and chose $156.50 in product in your kit for just $99. That’s 25% more product! Start a business or just enjoy being a demonstrator to receive the 20% discount.

Learn more here.


Thanks for stopping by if you have any questions or see something you like email me at jackielwatson2009@hotmail.com

Jackie

Friday, January 11, 2013

Look What I Made Today

Birthday Beer Mug

I found the idea for this card on Pinterest, posted by Tammy Bolster.  Thanks Tammy for a cute card. Hope you like my version.

Supplies needed for this card:

Card Stock                Whisper White, Soft Suede, So Saffron
Ink                             Soft Suede, So Saffron
Stamp Set                  Apothecary
Embossing Folder    Woodgrain Textured Impressions
Punches                    1-1/4” circle, ¾” circle, ½” circle, corner, 2”x 3/8” oval,1-3/4” x 7/8” oval,  
                                  large hand,  and itty bitty scallop punch       
Tools                         Big Shot Machine,  Sticky tape, glue dots           

Directions:

  1. First cut a piece of Whisper White card stock to 5 1/2" x 11" and fold in half, this will make your base card.
  2. Then cut a piece of Soft Suede card stock to 4" x 5 1/4", then run that piece thru the Big Shot using the Woodgrain embossing folder.
  3. Next adhere this to the card front of your base card.
  4. Then cut a piece of Whisper White card stock to 3" x 3 3/4" this will be your mug.
  5. Next cut 3 strips of So Saffron card stock  31/2" x 7/8"  this will be for the beverage.
  6. Punch the corners of the strips to round the edges using the corner punch.
  7. Sponge the edges with So Saffron Classic Ink.
  8. Stamp your sentiment onto 1 of the So Saffron strips using Soft Suede Ink.
  9. Attach the strips of So Saffron to the front of the Whisper White Mug.
  10. Adhere completed mug to Soft Suede card front. (I used sticky tape for better support)


How to make Mug Handle   
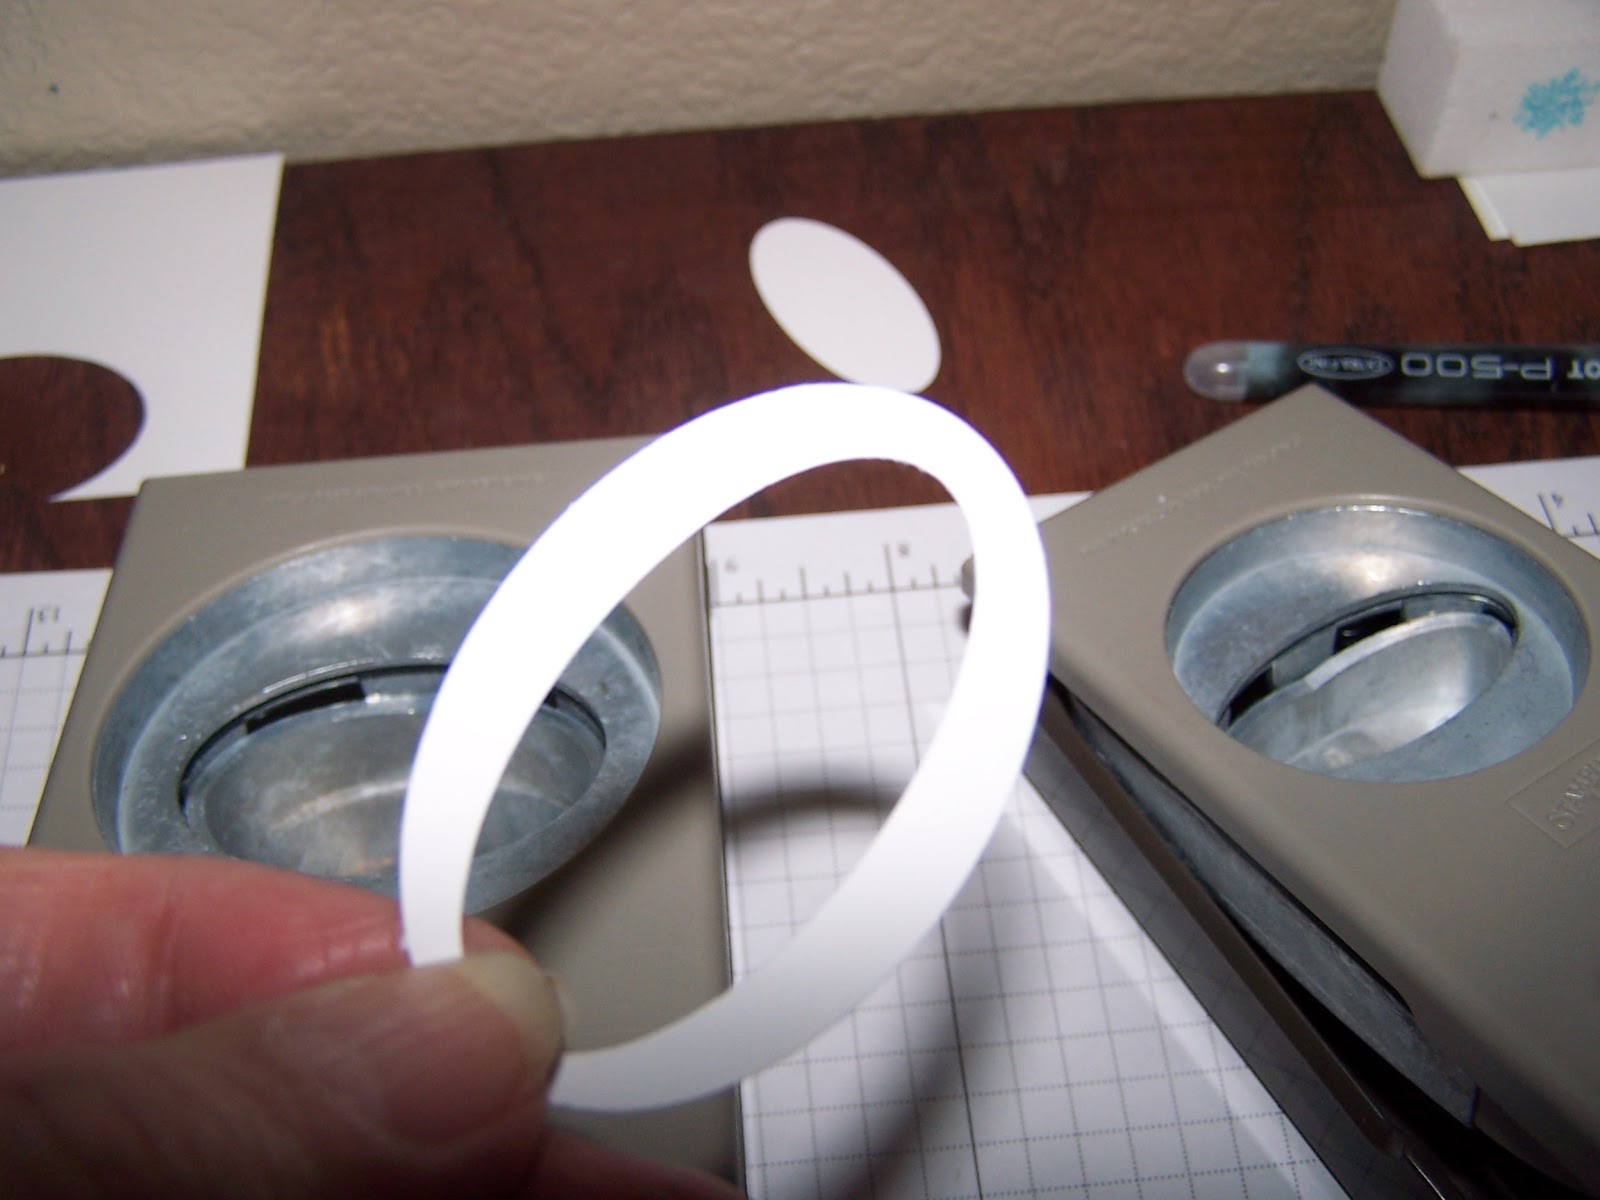
Using scrap Whisper White card stock punch a large Oval using oval punch (disgard this)


Then over the top of this hole, punch again using the Jumbo Oval  


This is what makes the handle for your mug. Now attach this to the back of your completed mug and then adhere mug to card front.


How to make Foam/Suds

Punch 3 of the 1-1/4" circles
Punch 5 of the  3/4" circles
Punch 1 of the  1/2" circles
Punch 5 of the Itty Bitty Scallop circles
Punch 5 or 6 dots using large Hand punch
Sponge the edges of these circles with So Saffron Ink.

Now attach these to the front of your card as desired to make Foam/Suds (I used stampin dimensionals, glue dots) to gice a 3D look.

Finish the inside of your card using Soft Suede Classic Ink.

I am sending this to my Grandson for his 21st Birthday. I think he will get a kick out of it.  I would love to hear what you think.

Jackie

Friday, December 28, 2012

Clearance Rack Blitz Update!

Stampin' Up has added 15 new items to the Clearance Rack


•Neutrals Flower Brads

•Regals Flower Brads

•Subtles Flower Brads

•Pretty in Pink 5/8" Satin Ribbon

•Bashful Blue 5/8" Satin Ribbon

•Chantilly 1/2" Crochet Trim

•Artichoke 3/8" Denim Jean Ribbon

•2010-2012 In Color Stampin' Write Markers

•2011-2013 In Color 12" x 12" Textured Cardstock

•Timeless Portrait Designer Series Paper

•Beau Chateau Designer Series Paper

•Well Worn Designer Series Paper

•Beau Chateau Side Notes

•Sweetest Stem Embosslits Dies

•Flower Burst Embosslits Dies

As with all Clearance Items, they are good WHILE SUPPLIES LAST, so get them before they are gone!!


Click here to place your order online 24/7. And don't forget, the Holiday Catalog is good only through January 2nd (one week left) - if you haven't purchased everything you wanted from the catalog, get it now!!


And the new Spring Catalog goes live on January 3rd.  If you haven't received your copy, just let me know and I'll be happy to send you one.  Email me at jackielwatson2009@hotmail.com


Jackie

Friday, December 14, 2012

Clearance Rack Blitz


Over 300 new Clearance Rack items are being added to the Online Store at discounts up to 80 percent off retail-only while supplies last! And for the first time ever, stamps are included at up to 40% off. Hurry up and visit my Online Store today!!


Wednesday, November 28, 2012

Twelve Days of Christmas Day Eleven

Beautiful Season Gift Card Set
Part One
This is the last project for my Twelve Days of Christmas and it will take two days to cover all that I have to show you.  It has been exciting and fun creating these projects,  I just love Christmas and anything to do with it.
Today project is how to make the case cover, and getting my holder ready for my cards, gift tags.

Here is my case cover;


Supplies need for this project:

Card Stock                        Cherry Cobbler, Whisper White
Designer Series Paper      Be A Good Cheer
Stamp Set                          Beautiful Season, Petite Pairs
Markers                             Always Artichoke, Early Espresso, Cherry Cobbler
                                          Soft Suede, Marina Mist, Pacific Point, Lucky Limeade
Stampin Ink                       Always Artichoke, Early Espresso and Soft  Suede
Punches                             Decorative Label and Curly Label
Tools and Accessories:
Aqua Painter, sticky tape, snail, Paper Crimper,  Dazzling Details in Cherry Cobbler and Clear Mount Stamp Case

Directions:

  1. Cut the designer series paper 10 1/2" x 7". I used Be a good Cheer and put the Christmas on the outside. Slip this into the sleeve to make sure it fits. Remove to add layers and tag or leave as is.
  2. Next I cut a piece of Cherry Cobbler card stock 6 5/8" x 4 11/16", then the top layer is Whisper White and cut to 5 7/16" x 4 1/4"
  3. Next I double stamped the birds from Beautiful Season to where the branches over lap but the birds do not, using Soft Suede.
  4. Next using the Stampin UP Markers I colored in the birds, leaves,berries and stems.
  5. I added Dazzling Details in Cherry Cobbler over the berries to give a little Bling to them!
  6. Next I stamped my message on Whisper White card stock and then punched it out with the Decorative Label Punch.
  7. Assembled and adhered them together. You can just put the card layer over the designer paper and it will stay, I used glue dots on each corner and glued to my designer paper, this gift is traveling back to my daughter in Indiana for Christmas, so I wanted to make sure it didn't move.


 This finished the holder for the cards and tags. On Friday I will show you the Christmas cards, gift cards and tags for part Two. Until then I hope you have enjoyed your stop today.

I know with Thanksgiving  and all that shopping coming up this week you may be busy. So I am going to leave this up, and if you want more detailed instructions let me know by emailing me at jackielwatson2009@hotmail.com  and I will send them you.
 

Wednesday, November 21, 2012

Twelve Days of Christmas Day Eight

Christmas Check Book Cover
With the holiday's coming up, I thought I would make your shopping a little easier. I am going to show you how to make a beautiful Holiday Checkbook Cover.

Here is the one I am sharing with you today.


Supplies needed:

Card Stock                        Gumball Green, Cherry Cobbler and Whisper White
Stampin Ink                       Soft Suede
Stamp Set                         Lovely as a Tree
Designer Series Paper     Be a Good Cheer 
Punch                               Corner
Bling                                Dazzling Details

Directions:

  • First take your checkbook cover and empty it out or you can buy an clear one at your local craft store. Measure the length and width of your check book.
  • Cut your Designer Series Paper (I chose Be a Good Cheer Stripes) 6 1/4" x 6 3/4" now remember some check books may be smaller and you might have to adjust. Then I rounded the edges with my Su corner punch.
  • Then place the paper into the cover to make sure it fits. See below


  • Now my checkbook cover was pretty just like this, but I wanted to add some Christmas Bling to mine.
  • Next I cut a piece of Gumball Green 2 5/8" x 5 3/4, rounded the edges and put aside.
  • Then I cut a piece of Cherry Cobbler 2 1/4" x 5 1/2", rounded the edges and put aside.
  • Then top piece I stamped the background stamp with Soft Suede onto Whisper White card stock, then took some Dazzling Details and added some snow to my trees and ground after the trees dried, I cut the piece to 2" x 4 3/4", and rounded the edges.
  • Then I assembled all the pieces and  glued them together. Next I glued to the top of the designer series paper.
  • I slid the finished piece into my plastic sleeve and now I have a beautiful Holiday Checkbook Cover! 
 A Holiday checkbook cover is a simple craft that makes a good gift!

I hope you enjoyed your stop today and let me know what you think. I enjoy reading each comment.


Don't forget to come back Friday for another project. If you would like more information on today's project email me at jackielwatson2009@hotmail.com


Monday, November 19, 2012

Twelve Days of Christmas Day Seven

Christmas Card Candy
Today's Project is how to make Christmas Card Candy, since the Holidays are not far off it's a great way to make fun tags or little pieces of Bling.  The card candy is another great gift for your Secret Santa, teachers for your children or stocking stuffers.  I loved making these little extra touches to put on cards or Christmas packages.  The ideas and amount you put in your bag is limitless.
Let's Get Started, here is my Card Candy.
Supplies needed for this project:
Card Stock                           Gumball Green, Pacific Point, Cherry Cobbler and Whisper
                                             White
Stampin Ink                          Pacific Point, Cherry Cobbler and Versa Mark
Stampin Markers                  Basic Black, Cherry Cobbler
Stamp Sets                           Christmas Lodge, Mixed Medley and Tags til Christmas
Punches                                Scallop  Circle, 1 1/4 Scallop circle, 11/4" circle, 1" circle
                                             3/4" circle, Scallop square, 11/4" square, 1" square 
                                             and extra large tag
Embossing Powder              Cherry Cobbler
Bling                                    Dazzling Details, Dazzling Details Cherry Cobbler, gold glitter and Pearls
Wax paper, cellophane bag and stapler 

Directions: 
Snow Man Tag
I started by stamping on whisper white card stock using Pacific Point and then using the 13/4" punch, and then punch the scallop circle using Pacific Point card stock. Adhered them together and added Dazzling Details for some added Bling.

Santa Tag
Using my markers, I colored the Santa suit and belt in black and cherry cobbler. Then punched it out using the large and extra large punches. Glued them together, added some glue around the buckle and sprinkled on some Gold glitter. For some buttons I added small Pearls.

Square Scallop Tag
On a piece of whisper white card stock I stamped in Cherry Cobbler, Do Not Open Until Christmas and punched it out with the 3/4" punch. Then punched the next layer in Gumball Green, and punched the finally layer in Cherry Cobbler using the Scallop Punch. Glued them all together using snail and SU dimensionals to give that 3D look.

Merry Christmas Tag
I stamped Merry Christmas from the Mixed Medley stamp set in Cherry Cobbler on whisper white card stock, then punched it out using the 3/4" punch. I punched out the next layer in Gumball Green using the 1" circle punch. The final layer I punched out a scallop circle using the new 1/1/4" scallop punch from the Holiday Mini. For some added Bling I used Dazzling Details in Cherry Cobbler.

Then I cut a piece of wax paper 37/8 x 6" to adhere the tags to using glue dots. That way you can peel them off when you want to use them. Then I put the tag set in a 4" x 6" cellophane bag.

Next I made my Label Topper
  1. I cut a piece of Gumball Green 41/2"? x 4" and folded in half for the base. 
  2. Then for the next layer I cut a piece of Cherry Cobbler card stock 4 1/4" x 11/2".
  3. Next I stamped on a piece of Whisper White card stock Merry Christmas using Versa Mark and then sprinkling the new Cherry Cobbler embossing powder on it. After tapping off excess powder I used my SU Heat Tool and set the Message.
  4. Next I cut the card stock to 4" x 11/4". Next I glued all 3 pieces together and attached to my bag with a staple.
I hope you enjoyed your stop today and let me know what you think. I enjoy reading each comment.


Don't forget to come back on Wednesday for another project. If you would like more information email me at jackielwatson2009@hotmail.com

Jackie


Friday, November 16, 2012

Twelve Days of Christmas Day Six


Christmas Gift Tin and Magnets

Today's gift to you is something I make all the time. I love giving gifts to special friends and family and this one goes over very well. You can adapt them to any occasion, I made one for my son the Chef using kitchen items inside the magnet (bread, rolling pin) sometimes I have to search for the pictures, but that makes it even more special. What you can put in them is limitless.

Let's get started this is what you will be making; since of the time involved I thought what a great weekend project!!


Supplies needed to do this project:


Card stock:                 Gumball Green, Cherry Cobbler, Very Vanilla and Glimmer Paper (Silver)
Designer paper           Be of Good Cheer (from the 2012-2013 Catalog)
Punches                       2 3/8” Scallop circle, 1 3/8" circle, 1 3/4" circle, 1" circle and large eyelet
Ribbon:                       Gumball Green Satin Stitched
Stamp Set:                   Delightful Decorations (retired) or Petite Pairs
Stamp Pad                   Cherry Cobbler
Accessories                Bottle Caps, magnets, tin, Crystal Effects, snail adhesive and for added
                                   Bling I added some Stampin Up Rhinestones!!

Directions:

Assemble your supplies:


Assemble each magnet, card stock,  designer series paper, or anything you stamp that you want to use for your base layer. I used the Silver Shimmer card stock using my 1 inch circle punch.

Then I adhered the Silver pieces into the bottle cap with Adhesive or Sticky Strip just to hold it in place. (Note: It is important that the piece is secure because when the Crystal Effects is poured in, the piece will "float" otherwise.)


Next I stamped some cute Christmas ideas on Very Vanilla card stock, so I can pick the one for the next layer. I also punched 1 inch circles out of the designer paper I used and cut them in half to off set so much sparkle from the silver.


Now as you see on my magnets, I chose something else. Now we are ready to put the pieces on top of the silver pieces with glue or sticky tape.

Pour Crystal Effects into the bottle cap on top of the image as shown in the photo below.


The next photo shows you how they will look after you have added the Crystal Effects, they will look cloudy.


Allow the pieces to dry over night or until it's beginning to appear clear. Then apply a Rhinestone to the piece. Literally "drop" it onto the Crystal Effects so that it doesn't sink or get covered up by the liquid. (After you have put Rhinestone in allow the bottle caps to dry at least overnight and be sure that they are placed on a level surface so the liquid dries evenly).

They should be clear and sparkly like my picture below.

Inside Directions:

Cut the strips of card stock and Designer Series Paper to go inside the tin. Bottom layer is 5-1/4 x 3-1/2, then I rounded the edges of the bottom piece and glued it to the bottom of my tin.


Next for the next layer I used the reverse side of the DSP and cut it 5-1/4 x 1-1/4. Then I took 1 inch piece of Cherry Cobbler card stock and ran it through the eyelet border punch for each side. Then I adhered the pieces together.


Here is what your tin should like when done.


To make the tag, take a piece of the gumball green card stock and using the 2 3/8 in scallop circle punch for the bottom layer, then out of cherry cobbler card stock using the 1 ¾ inch circle punch for the 2nd layer and for the third layer use a piece of designer series paper that matches the ones inside of tin and punch out a circle for your message using the 1 3/8 inch circle punch.


Then you can stamp any message you want inside the circle. I chose at the time Merry Christmas from a retired set at the time, but would replace it with Merry Christmas from Petite Pairs out this years Stampin Up Catalog. I added Rhinestones and Ribbon for additional Bling.

Once bottle caps are completely dry on the inside, turn over and add magnet I use Crystal Effects it works the best for this but be sure to let it dry completely once again. You can use any adhesive you like as long as it is completely dry.


After the magnets are dry, put the magnets inside and line up on strip. They will stick to the bottom of the tin. Here is an example below.


Then close lid, flip the tin over and it is time to add the belly band and then flip back glue together (I used red sticky tape) to make a stronger hold. Then you can attach the tag.


I added my ribbon bow and that completes this project.


I hope you enjoyed your stop today and let me know what you think. I enjoy reading each comment.

Don't forget to come back on Monday for another project. If you would like more information email me at jackielwatson2009@hotmail.com

Jackie


Friday's Tip of the Day

Using Double Sided Tape (aka Red sticky tape)

Like  everyone else I use double sided tape for everything and most of the time it is very unforgiving I mean once it is stuck it is stuck and so are you.....If you haven't got it right!

Well there is help on the way!  Try this, rub a glue stick over the sticky tape, it will give you a little more flexibility to move the your card into the right position.

Hopes this helps, I know it did for me.

Jackie

Wednesday, November 14, 2012

Twelve Days of Christmas Day Five

Top Note Post-It-Note Holder

Today's project is a lovely gift idea my sister received and I thought I would share my version with you. It is a Top Note Post-It-Note Holder.   This would make a great gift for some one's Secret Santa at work! So thanks Sis for all your help and support.

Here is my version:


Supplies Needed:

Card Stock                       Cherry Cobbler, Whisper White
Glimmer Paper                Silver
Stamp Set                         Petite Pairs
Stampin Ink                      Versa Mark
Ribbon                             Gumball Green Stitched Satin
Bigz Die                          Top Note and Snow Flurry
Embossing Folder            Northern Flurry
Bling                                Rhinestones and Silver embossing powder
Tools                               Big Shot, Heat Gun and Simply Scored Scoring Tool
Punch                               Word Window
Post It Notes

Directions:
 I cut a piece of a card stock (I chose Cherry Cobbler) 10 x 4

Then I folded the card stock in half and placed onto top of the Top Note Bigz Die the length you want. This will give you the length you need.

Then you run this through the Big Shot.


 After you remove from Plates I wanted more texture so I used the Northern Flurry Embossing Folder and added some Snowflakes.


Then I scored the larger Top Note piece at 3 1/2 and 4inches using my Simply Scored Scoring, this should give plenty of room for the Post-it-Note.
I added a strip of  Red Sticky tape on the back of the Post-it Note and then placed it on the seam of my Top Note. For added support I ran my fingers up and down the seam so that when you open up the seam to make a good seal. Like the photo below.


  1. Next  I cut a piece of Glimmer Paper and used the Bigz Die Snow Flurry from the new Stampin Up Holiday Catalog and used the medium size Snow Flake for texture and Bling!
  2. Then I cut out of White White 2 x 2 inch and stamped Merry Christmas from Petite Pairs using Versa Mark. Then I sprinkled Silver Embossing powder on it and heated it using my Heat Gun to give it a Silvery tone. Then I used the framelit from Itty Bitty to make my tag. 
  3. Next I punched a hole in the end using Word Window.
  4. Then next I added the Silver Snowflake and Rhinestones.
  5. Next I cut a piece of Ribbon the length I needed to wrap around and go through the holes I punched and tie a Bow like the photo below.
This end my tutorial on how to make Top Note Post-it-Holder.  I hope you enjoyed your stop today and let me know what you think. I enjoy reading each comment.

Don't forget to come back Friday for another project. If you would like more information email me at jackielwatson2009@hotmail.com

Jackie


Related Posts Plugin for WordPress, Blogger...