Showing posts with label Masuline Birthday Cards. Show all posts

Friday, February 1, 2013

Birthday Wishes

Today I am posting a birthday card for my grandson James. I wanted to make a card that is just as unique as he is. I love making Vintage looking cards and this is my first try at one for a guy and the new stamp sets from the Spring Catalog and Sale-a-brations just fit right in.


Supplies

Card Stock                       Crumb Cake, Indigo Island, Very Vanilla (inside)
Stamp Sets                        Hearts a Flutter, Feeling Sentimental, Beautiful Birthday
Framelit                            Hearts a Flutter
Designer Series Paper      Tea for Two
Stampin Ink                       Cherry Cobbler, Early Espresso
Tools                                Gold Brads for some Bling! Big Shot Machine

Directions
  1. Made base card using Crumb Cake 51/2" x 41/4"
  2. Next layer was Indigo Island  51/4" x 4"
  3. Top layer 5" x 33/4" tore bottom.
  4. Next cut a strip of designer series paper (news paper ad)from Tea for Two 5" x 1" and tore bottom. edge and matched up to Crumb Cake top  and glued together.
  5. Sponged around the edges of the top layer with Cherry Cobbler. 
  6. Then I stamped the Telephone Booth in the lower right hand corner.
  7. Next I stamped the ribbons from Hearts a Flutter 1 with Cherry Cobbler other Indigo Island
  8. Then using the matching die cut from the framelits bundle thru my Big Shot machine.
  9. Next placed ribbons on the side added Gold Brads.
  10. Finally stamped celebrate in the middle with Cherry Cobbler.
  11. On the inside I stamped Happy Birthday onto Very Vanilla card stock with Early Espresso.
 I loved making this card it was quick, easy and turned out great. I believe my grandson will like it.

Thanks for stopping by and if you want more information about this card, Spring Mini or Sale-a-brations email me at jackielwatson2009@hotmail.com


Jackie


Friday, January 11, 2013

Look What I Made Today

Birthday Beer Mug

I found the idea for this card on Pinterest, posted by Tammy Bolster.  Thanks Tammy for a cute card. Hope you like my version.

Supplies needed for this card:

Card Stock                Whisper White, Soft Suede, So Saffron
Ink                             Soft Suede, So Saffron
Stamp Set                  Apothecary
Embossing Folder    Woodgrain Textured Impressions
Punches                    1-1/4” circle, ¾” circle, ½” circle, corner, 2”x 3/8” oval,1-3/4” x 7/8” oval,  
                                  large hand,  and itty bitty scallop punch       
Tools                         Big Shot Machine,  Sticky tape, glue dots           

Directions:

  1. First cut a piece of Whisper White card stock to 5 1/2" x 11" and fold in half, this will make your base card.
  2. Then cut a piece of Soft Suede card stock to 4" x 5 1/4", then run that piece thru the Big Shot using the Woodgrain embossing folder.
  3. Next adhere this to the card front of your base card.
  4. Then cut a piece of Whisper White card stock to 3" x 3 3/4" this will be your mug.
  5. Next cut 3 strips of So Saffron card stock  31/2" x 7/8"  this will be for the beverage.
  6. Punch the corners of the strips to round the edges using the corner punch.
  7. Sponge the edges with So Saffron Classic Ink.
  8. Stamp your sentiment onto 1 of the So Saffron strips using Soft Suede Ink.
  9. Attach the strips of So Saffron to the front of the Whisper White Mug.
  10. Adhere completed mug to Soft Suede card front. (I used sticky tape for better support)


How to make Mug Handle   
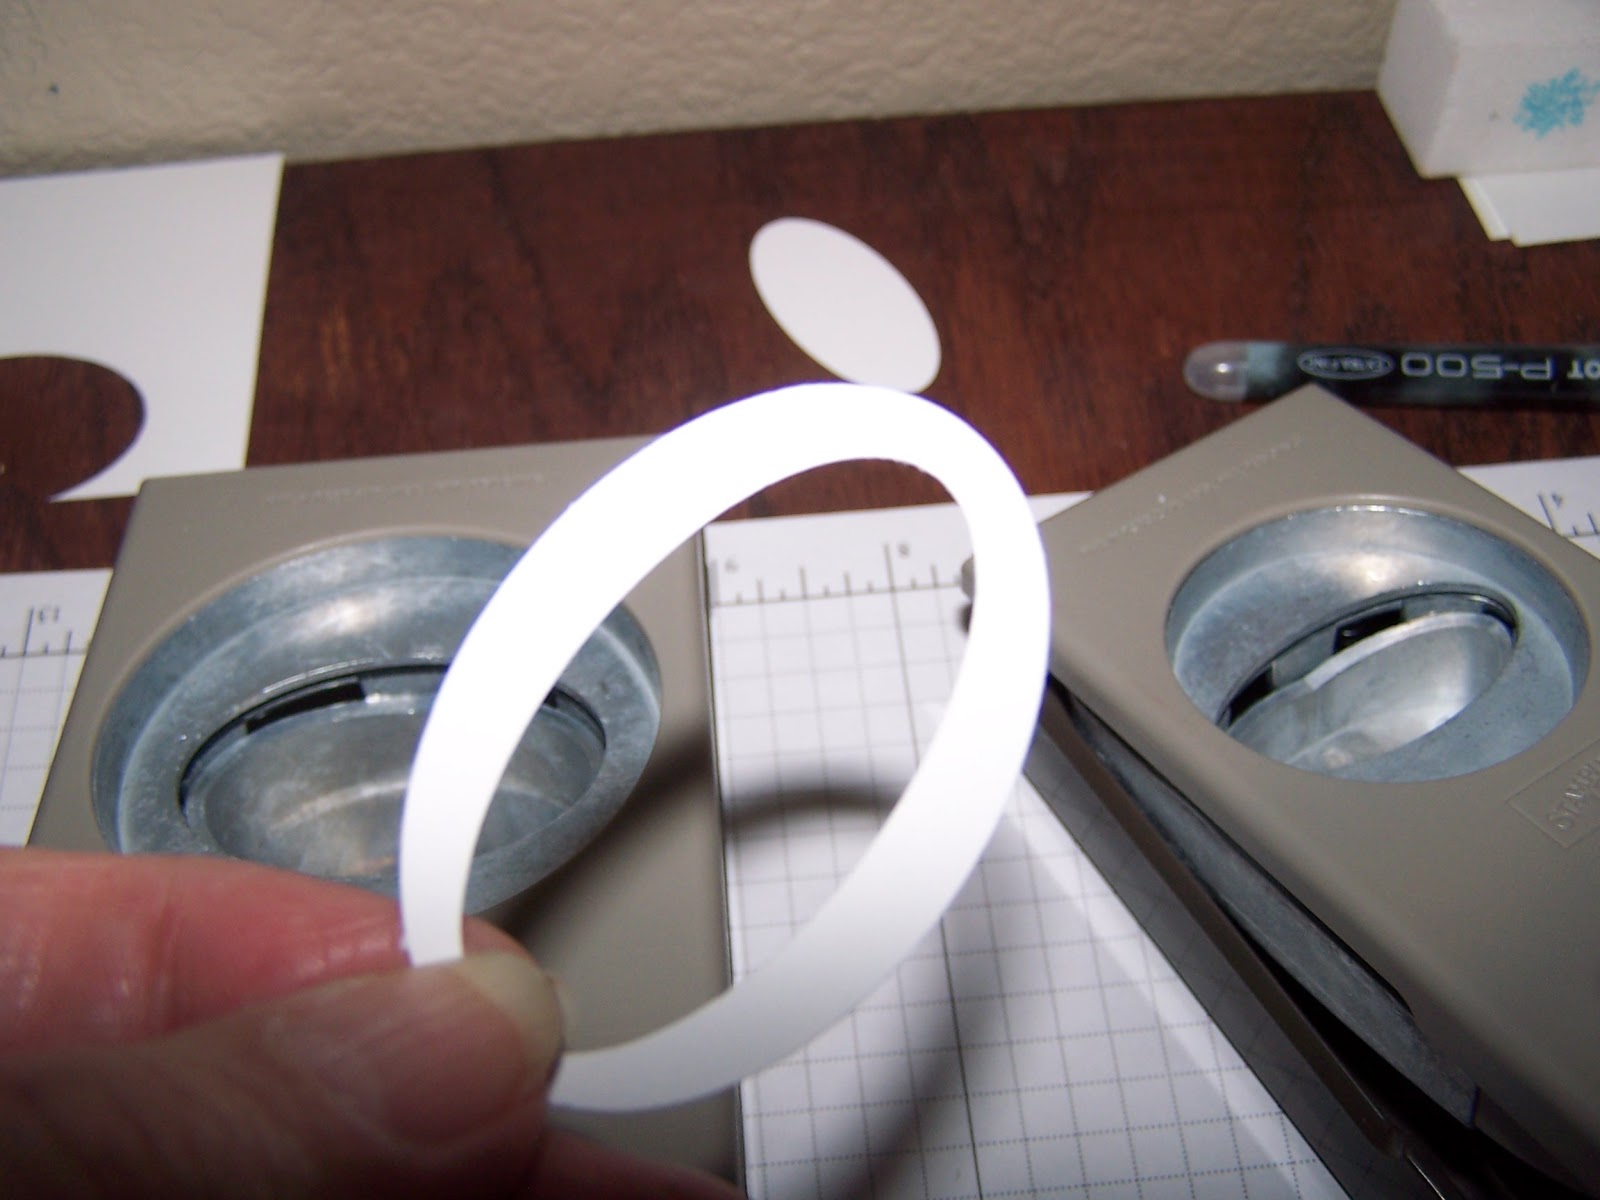
Using scrap Whisper White card stock punch a large Oval using oval punch (disgard this)


Then over the top of this hole, punch again using the Jumbo Oval  


This is what makes the handle for your mug. Now attach this to the back of your completed mug and then adhere mug to card front.


How to make Foam/Suds

Punch 3 of the 1-1/4" circles
Punch 5 of the  3/4" circles
Punch 1 of the  1/2" circles
Punch 5 of the Itty Bitty Scallop circles
Punch 5 or 6 dots using large Hand punch
Sponge the edges of these circles with So Saffron Ink.

Now attach these to the front of your card as desired to make Foam/Suds (I used stampin dimensionals, glue dots) to gice a 3D look.

Finish the inside of your card using Soft Suede Classic Ink.

I am sending this to my Grandson for his 21st Birthday. I think he will get a kick out of it.  I would love to hear what you think.

Jackie

Wednesday, January 9, 2013

January Birthdays

January is a busy month with cleaning, packing Christmas away, getting ready for the launch of the Spring Mini, SAB and of course Birthdays!  I posted the card for my grandson already cutest mug, and today is the card I made for my son.  His card could be one of my 20 minute cards, it was that easy to do.

Supplies

Card Stock                           Whisper White, Crumb Cake, Always Artichoke
Stamp Sets                            Loving Thoughts, Beautiful Birthday
Button                                   Natural Designer
Framelit                                Apothecary Accents                 
Embossing Folder                Chevron
Designer Series Paper          Regals Designer Series paper stack
Accessories                     Linen Thread,
Stampin Marker                    Early Espresso


Directions
  1. Cut a piece of Whisper White card stock 51/2" x 41/4" and fold this is to make your base card.
  2. Next cut 1 each of  Always Artichoke, Designer Series Paper and Crumb Cake mine are 11/4" x 51/4" which leaves a space in between them.
  3. Then I run each piece through my Big Shot using the Chevron embossing folder. Then I adhered them to my base card.
  4. I used a piece of left over designer paper and the die cut from Apothecary and run that through my Big Shot. To get the back up piece, I traced the die cut and cut out by hand.
  5. Using my Early Espresso marker I colored the stamp from Loving thoughts onto Whisper White card stock. Then cut to make it look like a Ribbon.
  6. Stamped Happy Birthday on the inside using Early Espresso.
  7. Next I run the Linen thread through one of the brown buttons and glued to the front of my card.

This was a easy card to make, simple and clean. I have a hard time making cards for the men in my family. My new year resolution is to practice more.

Thanks for stopping by I hoped you enjoyed my project today. As always feel free to leave a comment. I enjoy reading them.

Jackie 
Related Posts Plugin for WordPress, Blogger...