Showing posts with label Birthday Cards. Show all posts

Thursday, April 23, 2020

Paper Pumpkin Catch Up

Like everyone else, I have been doing all the Paper Pumpkin Kits I had laying around.

I love getting my Paper Pumpkin every month.  We have had wonderful surprises over the last few months. Enjoy! and if you would like your very own Paper  Pumpkin kits. Let me know and I will get you signed up or go to:  https://www.paperpumpkin.com

Here are some cards I have made sense be in quartino


.


Friday, July 26, 2019

Paper Pumpkin Alternatives

I love getting my Paper Pumpkin each month and seeing the surprises inside those little magic boxes, but being creative and curious as I am I also love taking my spare pieces and seeing what I come up with. Here are a few I used in Fun Cards, challenges and etc.


I have a couple more that I am working on that are not finished. I hope you enjoyed what I have been up too. As always if you want more information on any card or jewelry I make just send me a message and I will respond as soon as possible.

Fun Fold Cards

I have been playing around with Fun Fold Cards that I have gotten off Pinterest. I hope you enjoy them as much as I did making them. Here are a few, there will be more later.


Wednesday, May 22, 2019

Elijah's Birthday

My youngest Great Grandson will be 4 on his birthday at the end of May. So I made him a Confetti Card. It came out so adorable, using My Paper pumpkin  kit from March I believe. I just love My Paper pumpkin kits. A surprise every month.


Friday, May 25, 2018

Birthday Wishes

I am so behind in everything lately and posting is one of them. I am going to start with a card I made for my Great Grandson Elijah. He will turn 3 next week and his card is in the mail. So I don't think he will mind if I share it with all of you.


I just love this set from Stampin up, No bones about it.  It is just great for making cards for boys. It was quick and easy. Copied from Pinterest.
I made my own Designer paper to go with the theme.

Have a great Memorial Day weekend.
Jackie

Tuesday, October 3, 2017

October Projects

October is a fun time of the year with weather changing and colors exploding into brilliant oranges, greens and yellows.

One of my projects is this lovely card and gift bag combo I made for a special friend of mine for her birthday. Enjoy!


I really enjoy making matching gift bags with my birthday and gift cards. Stampin Up makes so easy with their gift bag punch board.  I also stamped Happy Birthday on white tissue paper in Always Artichoke and Pumpkin Spice Ink.

Here's a list of items I used to make them.
Card Stock:      Pumpkin Pie, Whisper White and Always Artichoke
Stamp Set          Avant-Garden
Framelits           Lot's of Labels, Stitched Shapes and Banner
Designer Series Paper was from Lullaby, a retired DSP
Essentials          Hardware clips also retired
Ribbon               white cross grain


I have several more cards to post, have fun and if I can help or answer any question contact me at jackielwatson2009@hotmail.com

Jackie

Friday, August 28, 2015

August Projects

This month I have been excited to focus on a couple of products from our new Stampin Up catalogue.
With a lot of birthdays this month I focused on lots of color and Butterflies. Using our Butterfly thinlit and Stampin Ups Envelope Maker.


All these Red and Purple cards are for the Birthdays of some very special Red Hat ladies in my chapter. I also used the envelope thinlits to make inserts for the envelope but those pictures didn't come out. I think they turned out quite well how about you?

Here are some firecrackers I made for guests at a Birthday Party we had for my Red Hat Chapter. Each one is filled with Chocolates, Jelly Beans and Sugar Free candies. What a wonderful way to use up retired DSP!! If you want to know how I made these lovely firecrackers go to videos up on tabs and click you will find it there. Have Fun, I know I did.
 
I hope you enjoyed this months projects and as always fill free to comment. I love reading them.
 
Jackie


Sunday, June 14, 2015

Birthday Card for a special little lady

I don't have a lot of children stamp sets so here is a card I made for my great granddaughter Tristyn


Just a simple Butterfly card using our new Butterfly thinlit.

Jackie

Wednesday, February 25, 2015

February Valentines

I did a major Oops! I made and sent the Valentine Day and Valentines Day  Birthday cards before I could take pictures of them. I only have these adorable 3 x 3 cards and envelopes I made for some of my gal pals.


I hope you enjoyed my little Valentines cards. I just love my envelope maker and can't wait to play with the box maker I just received. With Easter coming up I can't wait to see what I come up with. Let me know what you think.   
 
Jackie
 

Saturday, May 24, 2014

OWH Memorial Blog Hop


Welcome to this years OWH Memorial Blog Hop. This years card is Red, White and Blue using one of these themes: Love cards, Missing You, Thank You, Birthday and Hero cards.   I chose a Birthday card. We were also suppose to use one of the OWH Sketches, I couldn't find one I liked and used a cased card. I hope you enjoy what I came up with. If you want directions on how to make it, just leave me a comment and I will send them to you.  Happy Blogging!

 
I am sorry my card didn't post earlier. Honest I thought I added it. 

Jackie


VC Rocks May's Blog Hop 2014


Welcome to VC Rocks first Blog Hop of the year. If you are new to our blog hops, you probably are wondering what VC Rocks is all about.

VC ROCKS stands for Virtual Convention and it ROCKS! This is a group of SU Demonstrators and non SU Demonstrators who love to stamp. We get together every year from April through August to hang out and have fun. The group hosts plenty of  card ideas and 3D swaps, challenges, make-n-takes and much more. So come along and have some fun you can start at the beginning at the VC Rock Blog  here at anytime. Click on each of the blogs and enjoy.

This months Theme: Rock your Creativity with Stampin’ Up! Tools or Embellishments.
 
 I made a Birthday card for you using Blooming with Kindness in Triple Time.
 
Front of card
 
 
 Inside card
 
 
Supplies:
Card Stock                  Mossy Meadow(new in Stampin Up Catty coming out in June), Very Vanilla
Ink                               Versa Mark
Stamp Set                    Blooming with Kindness
Embossing Powder      Copper
Tools                            Heat Gun, Stampin Up Trimmer
 
Now onto the fun part as you can see there is not a lot of product to use. If you would like to make your own version of this card I have a video with step by step instructions under my video tab. I found how make this card using the Triple Time Technique on you tube a few years ago I just love the effect it gives the cards. I am sorry for the photo, you can hardly tell I used copper embossing powder. I tried several shots and couldn't bring it out.
 
Thanks for stopping by my blog and letting me know what you think of the Triple Time Effect.  I love reading comments from everyone. Keep going and see what else we have in store for you.

If you want more blogging to do when your done with VC Rocks then let me show you where to go. Operation Write Home or OWH to most of us. Is also having a Memorial Day Blog Hop. If you are interested then go to this link to get started   http://wp.me/p2kUr6-4o6. 


Thanks,
Jackie

Wednesday, July 31, 2013

Open Sea Birthday Card

Here is a card I made for one of my grandson's. I like the Open Sea stamp set and I hope he likes what I came up with.


Supplies:
Card Stock                             Crumb Cake, Pacific Point, Soft Suede, Very Vanilla
Stamp Sets                             The Open Sea and Itty Bitty Banners
Ink                                          Soft Suede
Stampin Up Markers              Pacific Point
Punch                                      21/2 inch Circle Punch
Framelit                                   Itty Bitty Banner
Accessories                             Stampin Up Circle Cutter

I cut a piece of Pacific Point 51/2 x 41/4 for the base card, then 51/4 x 4 for the next layer I used Soft Suede. Then cut a piece of Very Vanilla 5 x 33/4   and stamped world stamp, compass and anchor all over it.
Then I stamped a piece of Pacific Point 31/2 x 21/2 and tore the edges
Next I stamped shipping log onto a piece of Very Vanilla 31/4 x 21/4  in Soft Suede and tore the edges.
I stamped Happy Birthday with Soft Suede and cut it out using framelit and put aside, same with the anchor except I trimmed around it.
Next I stamped the ship on Very Vanilla card stock with Soft Suede and using my Pacific Point marker colored under the ship to make the sea. Then I punched it out using the 2 1/2 inch Circle punch.
Last using the Circle Cutter I cut a piece of Crumb Cake and Soft Suede to make the Port Holes. I was going to put brads on the Port Holes to make it look more realistic, but ran out of time before my sis had to leave for convention, where it was being mailed from. Sorry Mark!

I hope you enjoyed my project today and leave me a comment below. Thanks for stopping by.
Jackie


Tuesday, April 16, 2013

What's New at Stampin Up

Today we're excited to introduce our second Submit a Project kit--the Dolled-Up Birthday Kit--voted on by you via our Facebook page. This gorgeous birthday card was created by Chris Gilmore, a manager from Coshocton, Ohio. Congratulations, Chris!


Looks Awesome!   Doesn't  it?

The Dolled-Up Birthday Kit includes:
  • Dolled-Up Birthday Photopolymer Stamp (1)
  • 8-1/2" x 5-1/2" Crumb Cake Cardstock (6 pieces)
  • 2" x 4-1/4" Very Vanilla Cardstock (6 pieces)
  • Very Vanilla Medium Envelopes (6)
  • Tea Lace Paper Doilies (6)
  • Dress Up die-cuts (6)
  • Soft Suede Classic Stampin' Spot (1)
  • Vanilla 5/8" Flower Trim (6 pieces)
  • Sponge Dauber (1)
 
 Get everything you need to make six cards for only $15.95 at my online store here. The only other product you will need is adhesive. There are easy instructions included.


Don't forget to join the fun with the LNS Treasure Hunt!

All you need to do is go to the Left Hand Side of my Tabs and click on LNS Treasure Hunt participants and collect 50 clues and email them to me by May 12th at jackielwatson2009@hotmail.com. There is a button on my sidebar that will take you to the post and tell you everything.

Happy Hunting!

Jackie


Monday, March 4, 2013

March is Beautiflu Butterfly Wings


I made this card for my daughter Kari, her birthday is in March and since I am having surgery I wanted to make sure it got posted before I leave.

I love all the new Butterfly punches and stamp sets Stampin Up has come out with this year and so I mixed them  with the Elegant Bouquet embossing folder to make a Vintage looking card.


I just loved the way it all came together. Let me know what you think?

Supplies
Card Stock                Pumpkin Pie, Whisper White, Soft Seude
Bigz Die                    Beautiful Butterfly
Embosslit                  Beautiful Wings
Framlit                      Window Frames (inside)
Embossing Folder     Elegant Bouquet
Ink                             Soft Seude, Whisper White Craft Ink
Stamp Set                  Vintage Verses, Beautiful Birthday
Tools                      Sponge dauber, Heat Gun, Basic Pearls


Hey, Hey I'ts Teasure Hunt Time


Don't forget to check out my post and collect all 50 demonstrators names and clues. For more  Information click Here


Thank You for stopping by today.

Jackie Watson


Friday, February 15, 2013

Butterflies in Flight

Today card is going to be one for my  daughter Shelly her birthday is right after Valentines and I wanted to make her card soft and girly. When I saw the new Butterfly punch in the Spring Mini, ideas start to form in my head.

Let's get started! Here is my card:


Here is the inside of the card:


Supplies

Card Stock                       Wisteria Wonder, Whisper White
Stampin Ink                      Wisteria Wonder
Stamp Set                         Beautiful Birthday
Ribbon                              5/8" White Organza and Satin
Punch                                Bitty Punch (new from Spring Catalog)
Embossing Folder            Perfect Polka Dots
Tools                                Simply Scored, Big Shot Machine
Accessories                      Basic Pearls, Basic Rhinestones and Paper Lace Dollie

Directions

Cut a piece of Wisteria Wonder card stock 51/2" x 41/4" and score down the middle to make your base card.
Next I cut a piece of Whisper White card stock 51/4" x 4" and then ran it through the Big Shot machine using Perfect Polka Dots embossing folder.
Next I cut another piece of Wisteria Wonder 5" x 33/4" and then I scored it using Stampin Ups Simply Scored.
Next I adhered the pieces together
Then I cut another piece of Whisper White card stock and ran it through the Big Shot using the Perfect Polka Dots embossing folder.
Next I punched out several (5-6) butterflies using the new Bitty Butterfly punch found in the new Spring Mini. Attaching them to the top piece in a scatter format.
I cut a piece of White Organza Ribbon to make a bow and attached it to the pieces and then adhered them to the base card.
I added Pearls for some additional Bling!

Happy Birthday and I hope you love the card!

Thanks for stopping by and as usual comments are welcome. I just love reading them!

Jackie


Friday, February 1, 2013

Birthday Wishes

Today I am posting a birthday card for my grandson James. I wanted to make a card that is just as unique as he is. I love making Vintage looking cards and this is my first try at one for a guy and the new stamp sets from the Spring Catalog and Sale-a-brations just fit right in.


Supplies

Card Stock                       Crumb Cake, Indigo Island, Very Vanilla (inside)
Stamp Sets                        Hearts a Flutter, Feeling Sentimental, Beautiful Birthday
Framelit                            Hearts a Flutter
Designer Series Paper      Tea for Two
Stampin Ink                       Cherry Cobbler, Early Espresso
Tools                                Gold Brads for some Bling! Big Shot Machine

Directions
  1. Made base card using Crumb Cake 51/2" x 41/4"
  2. Next layer was Indigo Island  51/4" x 4"
  3. Top layer 5" x 33/4" tore bottom.
  4. Next cut a strip of designer series paper (news paper ad)from Tea for Two 5" x 1" and tore bottom. edge and matched up to Crumb Cake top  and glued together.
  5. Sponged around the edges of the top layer with Cherry Cobbler. 
  6. Then I stamped the Telephone Booth in the lower right hand corner.
  7. Next I stamped the ribbons from Hearts a Flutter 1 with Cherry Cobbler other Indigo Island
  8. Then using the matching die cut from the framelits bundle thru my Big Shot machine.
  9. Next placed ribbons on the side added Gold Brads.
  10. Finally stamped celebrate in the middle with Cherry Cobbler.
  11. On the inside I stamped Happy Birthday onto Very Vanilla card stock with Early Espresso.
 I loved making this card it was quick, easy and turned out great. I believe my grandson will like it.

Thanks for stopping by and if you want more information about this card, Spring Mini or Sale-a-brations email me at jackielwatson2009@hotmail.com


Jackie


Friday, January 11, 2013

Look What I Made Today

Birthday Beer Mug

I found the idea for this card on Pinterest, posted by Tammy Bolster.  Thanks Tammy for a cute card. Hope you like my version.

Supplies needed for this card:

Card Stock                Whisper White, Soft Suede, So Saffron
Ink                             Soft Suede, So Saffron
Stamp Set                  Apothecary
Embossing Folder    Woodgrain Textured Impressions
Punches                    1-1/4” circle, ¾” circle, ½” circle, corner, 2”x 3/8” oval,1-3/4” x 7/8” oval,  
                                  large hand,  and itty bitty scallop punch       
Tools                         Big Shot Machine,  Sticky tape, glue dots           

Directions:

  1. First cut a piece of Whisper White card stock to 5 1/2" x 11" and fold in half, this will make your base card.
  2. Then cut a piece of Soft Suede card stock to 4" x 5 1/4", then run that piece thru the Big Shot using the Woodgrain embossing folder.
  3. Next adhere this to the card front of your base card.
  4. Then cut a piece of Whisper White card stock to 3" x 3 3/4" this will be your mug.
  5. Next cut 3 strips of So Saffron card stock  31/2" x 7/8"  this will be for the beverage.
  6. Punch the corners of the strips to round the edges using the corner punch.
  7. Sponge the edges with So Saffron Classic Ink.
  8. Stamp your sentiment onto 1 of the So Saffron strips using Soft Suede Ink.
  9. Attach the strips of So Saffron to the front of the Whisper White Mug.
  10. Adhere completed mug to Soft Suede card front. (I used sticky tape for better support)


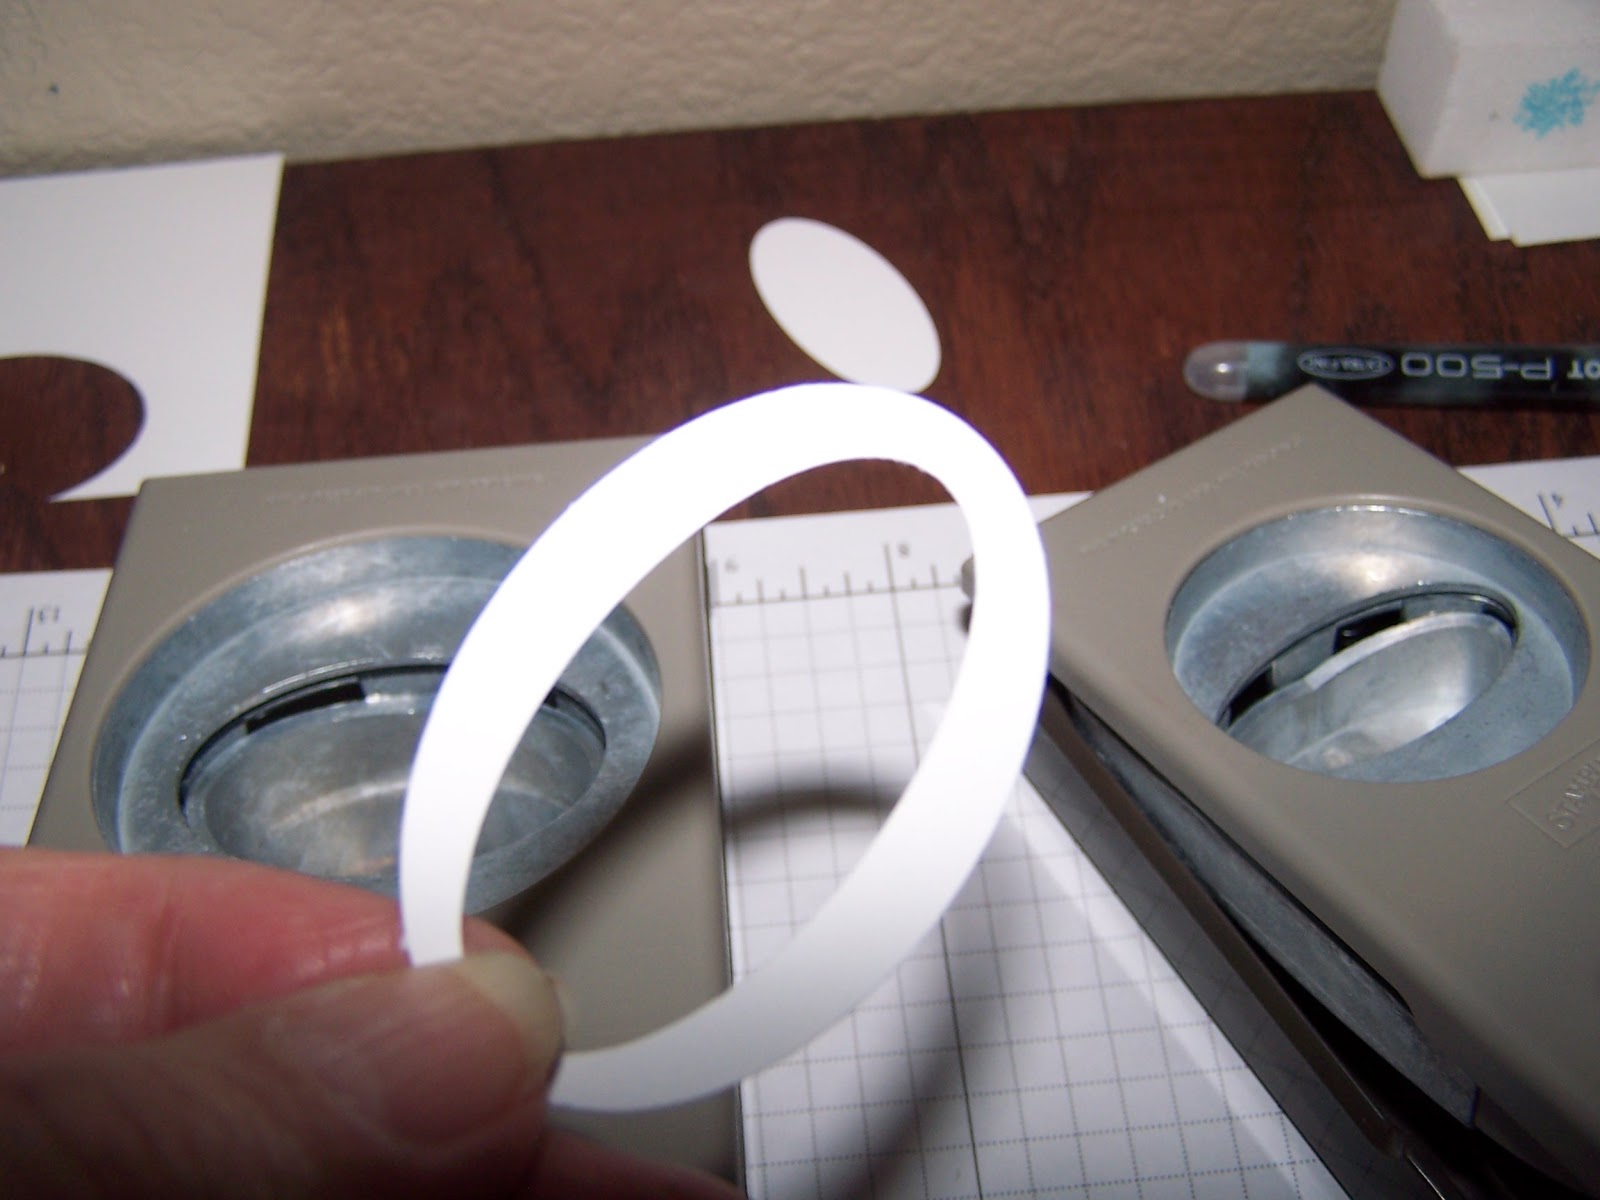
How to make Mug Handle   
Using scrap Whisper White card stock punch a large Oval using oval punch (disgard this)


Then over the top of this hole, punch again using the Jumbo Oval  


This is what makes the handle for your mug. Now attach this to the back of your completed mug and then adhere mug to card front.


How to make Foam/Suds

Punch 3 of the 1-1/4" circles
Punch 5 of the  3/4" circles
Punch 1 of the  1/2" circles
Punch 5 of the Itty Bitty Scallop circles
Punch 5 or 6 dots using large Hand punch
Sponge the edges of these circles with So Saffron Ink.

Now attach these to the front of your card as desired to make Foam/Suds (I used stampin dimensionals, glue dots) to gice a 3D look.

Finish the inside of your card using Soft Suede Classic Ink.

I am sending this to my Grandson for his 21st Birthday. I think he will get a kick out of it.  I would love to hear what you think.

Jackie
Related Posts Plugin for WordPress, Blogger...